
TWIST #1-half butter & half cream cheese (we only had unsalted butter in the fridge, so I had to add a little more salt when I made these-no biggie)

TWIST#2-beat sugars, egg, butter, etc. on medium speed for 5 MINUTES! Mixture becomes light & fluffy-like frosting but not as dense.

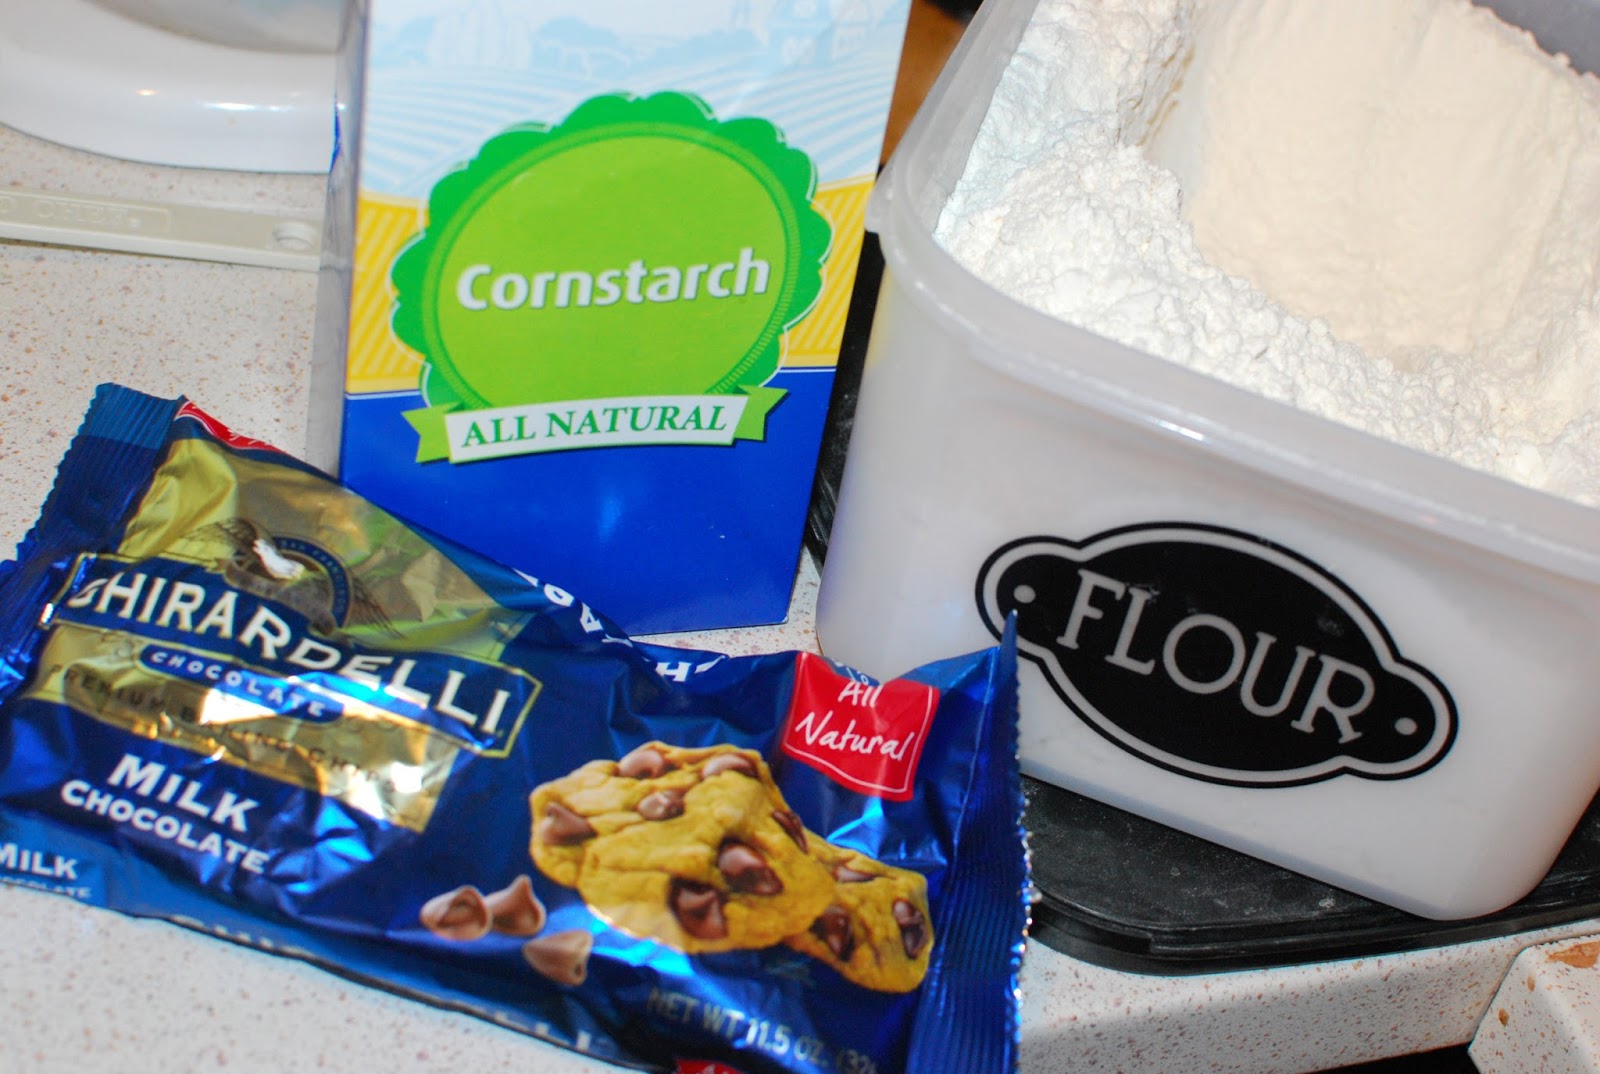
We like to use quality HUGE MILK chocolate chips in our cookies. Go big or go home right!?


TWIST #5-Form into balls, flatten slightly with palm of your hand and REFRIGERATE FOR AT LEAST 2 HOURS before baking! This ensures that they bake thick & fluffy!

These cookies did NOT disappoint! Even Mike-who prefers every cookie over chocolate chip- came in smelling the "something is freshly baking air" wanting some!

After they cooled for 5 minutes & set up a bit, they were devoured....and I am pleased to announce-they were DIVINE! I mean come on-look at that thing! One cookie is almost the size of a salad plate! I packed one in everyones lunches today. They are perfectly chewy yet not under-baked. Soooooo good!

Cream Cheese Chocolate Chip Cookies
INGREDIENTS:
1/2 cup (1 stick) unsalted butter, softened
1/4 cup cream cheese, softened (use cream cheese in a block or spreadable, don't use fat-free, light or whipped)
3/4 cup light brown sugar, packed
1/4 cup granulated sugar
1 large egg
2 teaspoons vanilla extract
2 1/4 cups all-purpose flour
2 teaspoons cornstarch
1 teaspoon baking soda
pinch salt, optional and to taste
2 1/4 cups semi-sweet chocolate chips or chunks (I used 1 cup chips and 1 1/4 cups chunks)
DIRECTIONS:
- To the bowl of a stand mixer fitted with the paddle attachment, combine the butter, cream cheese (measure it by smooshing it into a 1/4-cup measure), sugars, egg, vanilla, and beat on medium-high speed until well-creamed, light and fluffy, about 5 minutes (or use an electric hand mixer and beat for at least 7 minutes).
- Stop, scrape down the sides of the bowl, and add the flour, cornstarch, baking soda, optional salt, and mix until just combined, about 1 minute.
- Add chocolate chips and chunks, and beat momentarily to incorporate, or fold in by hand.
- Using a medium 2 to 3-inch cookie scoop, form heaping mounds. Place mounds on a large plate, flatten mounds slightly with your palm, cover with plastic wrap, and refrigerate for at least 2 hours, or up to 5 days, before baking. Do not bake with warm dough because cookies will spread and bake thinner and flatter.
- Preheat oven to 350F, line a baking sheet with a Silpat Non-Stick Baking Mat or spray with cooking spray and place mounds on baking sheet, spaced at least 2 inches apart (I bake 8 cookies per sheet). Bake for 8 to 9 minutes, or until edges have set and tops are just beginning to set, even if slightly undercooked, pale and glossy in the center. Do not bake longer than 10 minutes as cookies will firm up as they cool (The cookies shown in the photos were baked with dough that had been chilled overnight, allowed to come to room temp for 15 minutes, and were baked for 8 minutes, with trays rotated at the 4-minute mark. They have chewy edges with soft, pillowy centers). Allow cookies to cool on the baking sheet for 5 minutes before removing and transferring to a rack to finish cooling.
- Cookies will keep airtight at room temperature for up to 1 week, or in the freezer for up to 3 months. Alternatively, unbaked cookie dough can be stored airtight in the refrigerator for up to 5 days, so consider baking only as many cookies as desired and save the remaining dough to be baked in the future when desired.
No comments:
Post a Comment